
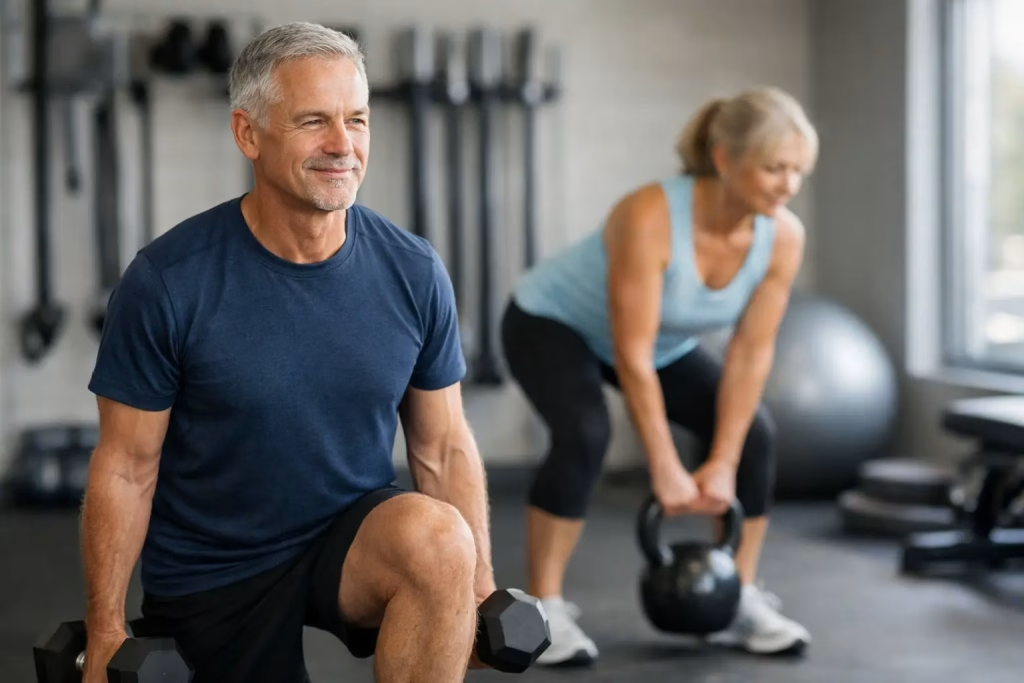
Getting up from a low chair, carrying the shopping, walking the dog on an uneven reserve or getting down to the floor with grandchildren should not feel like a test of confidence. The best strength exercises after 50 are the ones that make these everyday movements easier while building strength around the joints that need it most.
You do not need punishing workouts, complicated machines or an athlete’s schedule. You need a few well-chosen movements, performed with good control and progressed gradually. Strength work can help you stay active, support recovery from injury and protect the independence you have worked hard for.
Why strength training changes after 50
From midlife onwards, muscle strength and power can decline if they are not used regularly. That can show up as slower walking, less confidence on stairs, aching knees after a busy day or a sore back when gardening. The answer is not to avoid effort. It is to apply the right amount of effort to the right movement.
A good program after 50 should train your legs, hips, upper body, core and grip. It should also respect old injuries, arthritis, balance concerns and the reality that some weeks are busier than others. Mild muscle fatigue after exercise is normal. Sharp pain, increasing joint swelling, tingling, dizziness or pain that lingers and worsens afterwards is not a signal to push through.
Start with two strength sessions each week on non-consecutive days. For most exercises, begin with one or two sets of 8 to 12 controlled repetitions. When that feels manageable and your technique remains steady, add a few repetitions, a little resistance or another set.
The best strength exercises after 50
The following exercises cover the movements most people need for an active, capable life. Choose a starting version that feels safe for your current ability. A chair, kitchen bench, resistance band and a pair of light dumbbells are enough for many people.
1. Sit-to-stand
Sit-to-stand is one of the most useful exercises you can do because it practises a movement you use every day. It strengthens the thighs, hips and trunk while improving confidence getting up from chairs, the toilet or the car.
Sit towards the front of a firm chair with feet about hip-width apart. Lean your chest slightly forwards, press through your feet and stand tall. Lower yourself slowly and with control. Use your hands on the chair or a bench for support at first if needed. To progress, use a lower chair, hold a light weight close to your chest or slow the lowering phase.
2. Supported squat
A supported squat builds on sit-to-stand by allowing a bigger range of movement. It is excellent for leg strength, but it should never become a competition to get as low as possible. The best depth is the one you can control without knee, hip or back pain.
Hold a kitchen bench or sturdy rail lightly. Send your hips back as though you are reaching for a chair, bend the knees and keep your feet flat on the floor. Stand by pressing the floor away. If your knees feel uncomfortable, reduce the depth and check that your knees are tracking in the same direction as your toes.
3. Step-ups
Stairs become easier when you train the ability to step up. Step-ups strengthen the thighs, glutes and calves while challenging balance in a practical way.
Use the bottom stair or a low, stable step next to a handrail. Place one whole foot on the step, press through that foot and bring yourself up without pushing hard from the trailing leg. Step down slowly. Complete your repetitions on one side, then swap. Begin with a low step. A higher step is not automatically better if it causes hip hiking, knee pain or loss of control.
4. Glute bridge
Strong hips help support walking, stair climbing and getting up from a chair. Glute bridges are a simple way to work the back of the hips without loading the knees heavily.
Lie on your back with knees bent and feet flat, about hip-width apart. Gently tighten your stomach, squeeze your buttocks and lift your hips until your body forms a comfortable line from shoulders to knees. Pause briefly, then lower slowly. Avoid arching the lower back to force the height. If getting on and off the floor is difficult, a physiotherapist can provide standing alternatives.
5. Calf raises
Your calf muscles do more than help you walk. They contribute to balance, push-off when walking and steadiness on slopes or uneven ground. They are often overlooked until people notice they can no longer rise easily onto their toes.
Stand near a bench with your fingertips resting on it for balance. Rise onto the balls of both feet, pause at the top, then lower your heels slowly. Keep your body tall rather than leaning forwards. Progress by holding light weights, adding repetitions or eventually performing the movement one leg at a time with support.
6. Wall or bench push-ups
Pushing strength matters when you open heavy doors, get up from the ground or steady yourself after a stumble. Wall push-ups are a comfortable entry point for many people with limited shoulder strength or wrist sensitivity.
Place your hands on a wall at shoulder height, step back and keep your body in a straight line. Bend your elbows to bring your chest towards the wall, then press away. A kitchen bench makes the movement more challenging than a wall, while a lower sturdy surface increases the load further. If you feel a sharp pinch in the shoulder, shorten the range and seek advice rather than forcing it.
7. Resistance band row
Rows strengthen the upper back, shoulders and arms. They can improve your ability to pull a heavy door, carry bags and maintain a more upright posture during desk work or long drives.
Anchor a resistance band securely at about chest height, or loop it around a solid post. Hold the ends and step back until there is light tension. Pull your elbows towards your ribs, gently squeezing the shoulder blades together without shrugging. Return slowly. Keep the shoulders away from the ears and avoid leaning back to make the exercise easier.
8. Carry and walk
Carrying weight is a highly practical form of strength training. It works your grip, shoulders, trunk and legs while teaching the body to stay tall and stable under load. Think of it as training for shopping bags, a suitcase or moving pots in the garden.
Hold one or two light dumbbells, shopping bags or other evenly weighted objects by your sides. Stand tall, brace gently through your middle and walk slowly around a clear space for 20 to 40 seconds. Start lighter than you think. You should be able to walk without leaning, holding your breath or feeling unsteady. One-sided carries are useful too, but they are more demanding on balance and should come later.
How to make strength work without aggravating pain
The right exercise is only half the picture. Technique, dosage and recovery decide whether training helps you move better or leaves you flared up. Work at an effort where the final few repetitions feel challenging, but you could still complete one or two more with good form. Holding your breath, rushing, twisting or relying on momentum are signs the exercise is currently too difficult.
Arthritis, past surgery and persistent pain do not automatically rule out strength training. In fact, appropriately graded loading is often part of improving function. However, the starting point varies. Someone recovering from a knee injury may need a higher chair and a smaller squat range. Someone with shoulder pain may be better with a band row before any pushing exercise. There is no prize for following a generic program that does not match your body.
A simple rule is to judge how you feel during exercise, later that day and the following morning. Minor muscle soreness that settles within a day or two is usually expected when you are new to training. Joint pain that becomes sharper, changes your walking or remains significantly worse the next day means reduce the load, range or volume. If it keeps happening, get it assessed.
Build a routine you will actually keep
Consistency beats heroic effort. Two 25-minute sessions each week can deliver meaningful progress when you repeat them over months. Begin with sit-to-stand, a push-up variation, a row, calf raises and either step-ups or bridges. Add carries once those feel comfortable. Walk on the days between sessions if you can, as regular movement helps keep joints and muscles ready for more.
Write down the chair height, band colour, weight or number of repetitions you used. Small improvements are easy to miss until you see them recorded: standing from the chair without hands, choosing a heavier bag or climbing stairs with less effort. Those are real results, not just gym numbers.
If pain, stiffness or a past injury is stopping you from starting, individual guidance can remove the guesswork. At Growing Younger Physiotherapy, exercise can be tailored to your movement, goals and confidence so you can build strength without feeling left to manage it alone. The most valuable program is the one that helps you keep saying yes to the life you enjoy.
